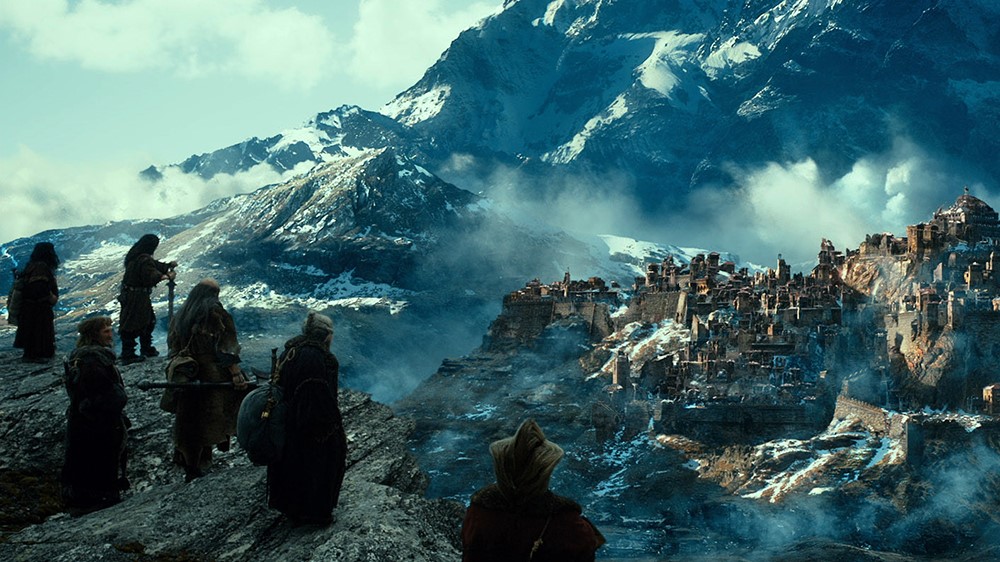
The senior modeler of Weta Digital James Moore tells about the usage of Marvelous Designer 2 in the film “The Hobbit”:
“We often have to make computer twins of the film’s heroes in order to fully realize the director’s vision of this or that scene. Such twins replace actors in cases where the participation of a living person in a scene is dangerous or simply impossible.
3D-twins should be indistinguishable from real actors, they must move and behave like living. To achieve a high level of realism, we simulated the movement of hair, skin, clothing, twins. With the help of dynamic simulation, the influence of the environment on the heroes and their clothes was recreated, as it would look during real shooting.
During the work on the “Hobbit”, we needed to create a large amount of 3D clothing, which during the simulation behaved exactly like the real one. We decided to perform this task by modeling clothes in patterns. Marvelous Designer 2 was chosen for the reason that the tool provides a fast and reliable solver (miscalculation / simulation) for stitching clothes during the modeling stage, as well as a simple and convenient interface.
At our disposal were the patterns of scenic costumes, in which the actors were dressed during the filming. We used them as templates for creating clothes using computer graphics.
By the way, here is a small secret for working with MD2. The easiest way to create a 2D pattern is to outline the real one. But in MD2 there is no way to load an image on the background. Therefore, everything is done as follows. Create a rectangular piece of cloth and apply a texture to it, and then traverse the top, creating 2D patterns.
Next, based on photos and scans, we created exact 3D copies of the bodies of the main characters of the film, which were used as mannequins.
We did not render the geometry obtained in Marvelous Designer 2. Nevertheless, with the help of the program we got clothes with all its folds, sagging and stretched parts, and it was an invaluable starting material. In the future, the resulting geometry was used as a template for subsequent retopology in Maya with the addition of buttons, seams and other parts. Such a digital costume of heroes was used by our modeling department.
The character department also did the retopology of the clothes created in Marvelous Designer 2 to get the geometry that would be used to simulate the tissues. Then the geometry from the modeling department was attached to the geometry from the simulation department (the latter was not visible on the renderer).
We had to make 3D doubles for almost all the characters that you can see in the “Hobbit”. And this means that we had to make hundreds of different items of clothing, most of which were created using Marvelous Designer 2. The most useful program was when creating costume gnomes, which had up to five layers of clothing. The ability to manage all these layers in MD2 was a real bonus, which greatly simplified and ensured greater stability of the fabric simulation.
Despite the fact that the program Marvelous Designer 2 was designed as a solution for the fashion industry, it turned out that it is easy enough to adapt to the needs of filmmaking. We were very pleased with the results.”
On https://www.flatpyramid.com/clothes-3d-models/ you can find a lot of different 3D models of clothes and, of course, you can sell yours too!


