Table of Contents
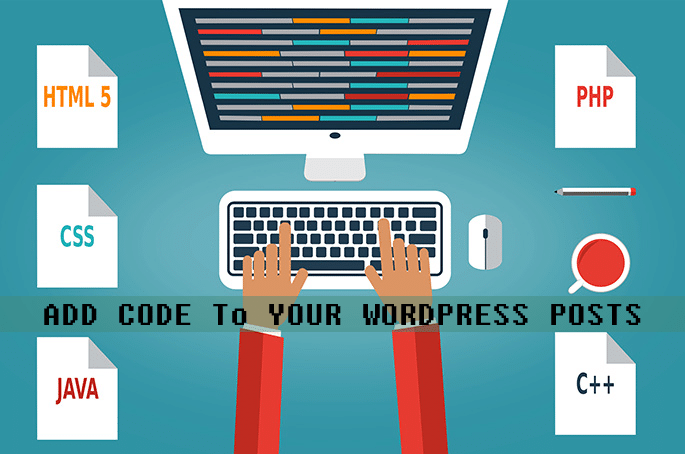
If you are a blogger then at one point or another you will need to show codes in your blog posts that are easy to read and copy. But unfortunately, WordPress don’t have a feature to automatically detect source codes in Blog posts and display them neatly. For security reasons WordPress filter out raw codes and displays it in a messy manner. Bloggers who love to do programming and WordPress tutorial faces these problem many times as whenever they display codes in their Blog post browser interprets it and displays codes in a weird way.
If you are using Blogger then here is a wonderful article on how to Integrate Syntax highlighter in 5 mins to your Blog
So in this post, I am going to show you how you can display codes in WordPress in a very simple way. The name of the Plugin is “Crayon Syntax Highlighter” that is a really nice syntax highlighter. It supports almost every code language with lots of customization options. So let’s get started with an in-depth tutorial on how to use crayon syntax highlighter and setting that you should enable in syntax highlighter to use it efficiently.
Step 1
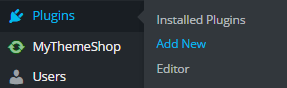
Login to your WordPress Dashboard and head over to Plugins>>Add new.
Step 2
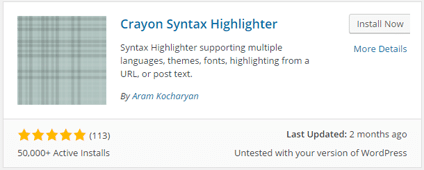
Search for Crayon Syntax Highlighter by Aram Kocharyan in the search box. Alternatively yo can download Syntax Highlighter from WordPress and upload it to your Blog.
Step 3
Click on Install now button and “Activate” the plugin.
Step 4
Once the plugin is installed its time to use it to display codes. Using Crayon syntax highlighter is easy. Just Click on Posts>>Add New.
Step 5
Now navigate to the <> symbol created in your WordPress editing ribbon and a pop-up window will open. Add your code in the space provided and click on “Add Code“.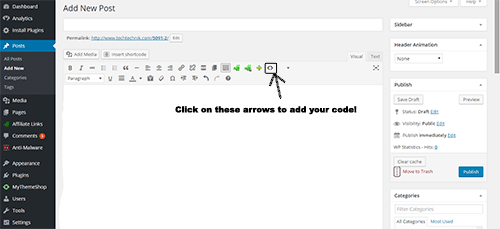
Recommended Setting for Crayon Syntax Highlighter
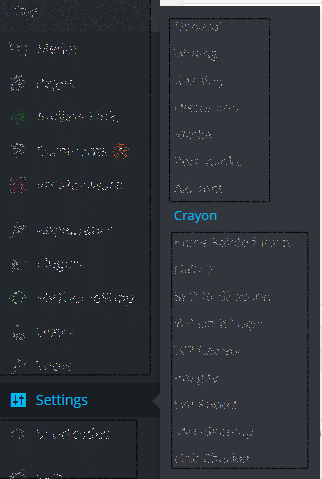
Crayon Syntax highlighter comes with a number of themes and features. Becuase of unique and several customization options it is important to choose the correct setting and options. To Goto the Crayon Syntax Highlighter Dashboard you have to navigate to Settings>>Cryon.
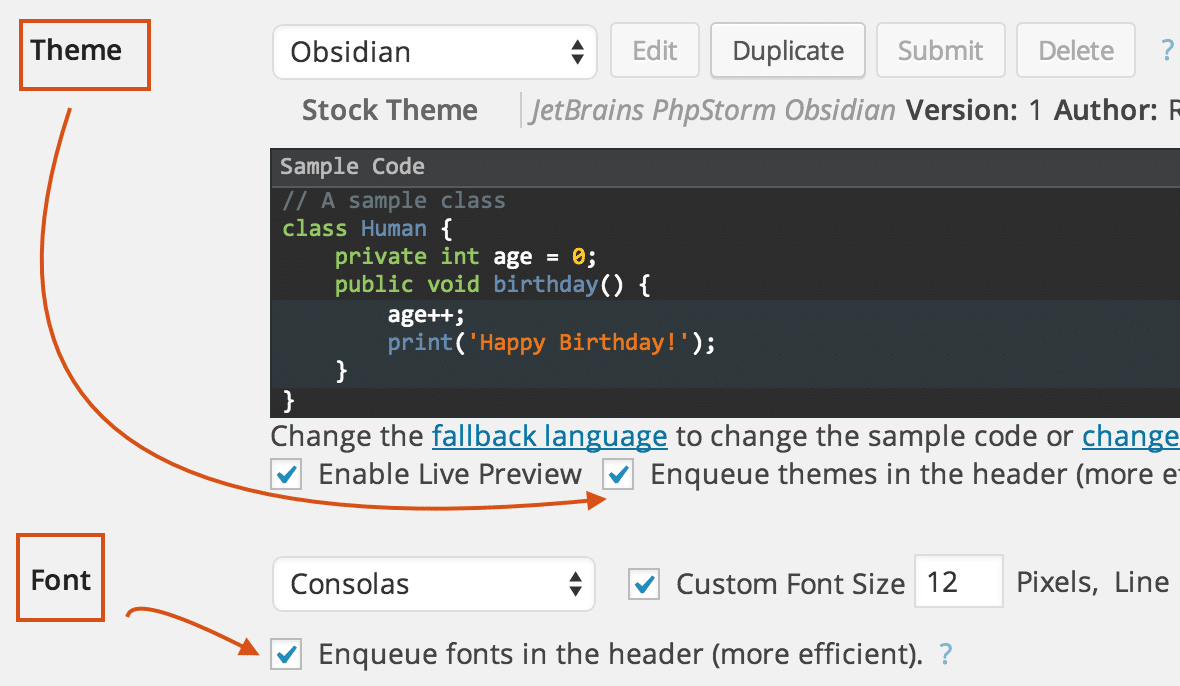
You will see several options and at the top is an option to choose themes. You can choose from several themes and developer Aram Kocharyan was smart enough to add a feature to edit the themes. Edit Themes feature allows website owners to fully customize the syntax color scheme to match their overall website design for a more cohesive look. The Crayon Theme Editor is easy to use without any CSS knowledge.
Now the next tweak that we need to do is prevent Crayon Syntax highlighter to load on every page and posts. By this tweak, Crayon Syntax Highlighter will be loaded only on pages and posts that have code in them.
You may also want to know: 5 Resourceful WP Plugins to Optimize Your WordPress Website for Mobile Users
Let’s get Started:
Step 1
Follow the checkboxes in the image.
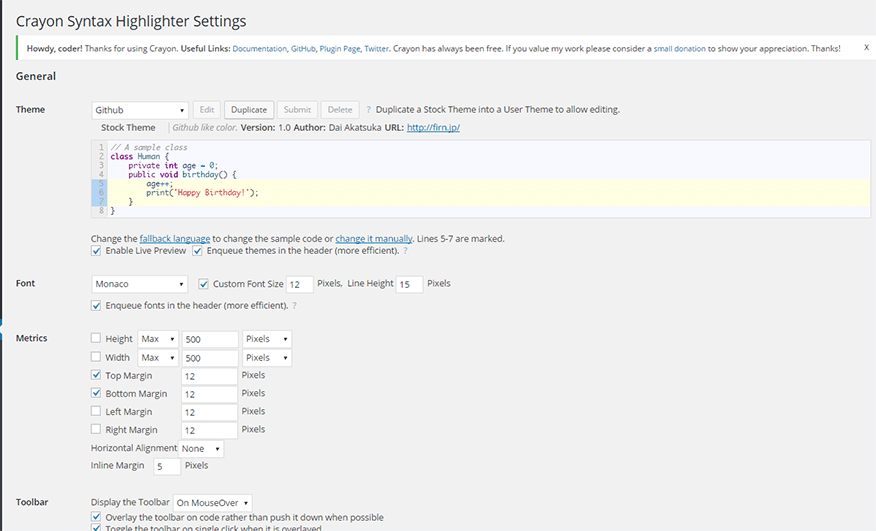
Step 2
Now make sure that you check below settings under MISC Setting
- Select Checkbox for Attempt to load Crayon’s CSS and JavaScript only when needed.
- Select Checkbox for Disable enqueuing for page templates that may contain The Loop.
- Uncheck option for Load Crayons only from the main WordPress query.

That’s it now Syntax Highlighter will load only on places where it is needed!
You may also want to know: How to increase your WordPress Security by changing Admin Login Url
Hope that the article was useful and you should have learned how you can display code which looks good and neat on your Blog posts. Don’t forget to share this article with your friends and let them also know how to add code to WordPress posts.


